
How to Destroy Castles in Castle Busters
To destroy castles in Castle Busters, remove the supports underneath occupied floors and then target whatever survives on foundations. Wrecker offers 150 base destruction for a concentrated opening hit. Positioning, attack direction and battlefield bonuses decide whether that hit opens a useful breach or merely damages an isolated wall.

Remove the Supporting Floor
Look underneath the rooms you want to bring down. Upper sections rely on lower structure, so removing a support can drop more than the wall directly struck. A roof hit often leaves the important room below intact. Work inward from the low breach, checking whether another intact column still carries the section you are attacking.
Bomber supplies repeated impacts, while Wrecker places a heavy blast into a chosen opening. Use the follow-up on surviving material instead of firing through the hole left by the previous attack. A damaged wall, a missing wall and a supported room require different decisions, even when they occupy almost the same part of the screen.
Unit elimination remains another victory route. Once a room opens, count the threats still able to fire. Finishing a vulnerable attacker can protect your own next turn, whereas continuing to chip unused masonry may give that attacker another shot. The team-building walkthrough helps keep both structural and direct-damage options available.
Compare Siege Attack Patterns
Use destruction as a wall-breaking comparison, then check projectiles and ability. The values below describe each unit at its starting rarity level, not a leveled battle total. Common starts at 1, Rare at 5, Epic at 10 and Legendary at 25. Spread and flight path determine how much of the attack reaches the same part of the building.
| Attacker | Starting level | Projectiles | Destruction | Unit damage per projectile |
|---|---|---|---|---|
| Wrecker | 1 | 1 | 150 | 70 |
| Bomber | 1 | 4 | 75 | 50 |
| Infector | 1 | 1 | 120 | 60 |
| Breacher | 5 | 1 | 50 | 60 |
| Napalmer | 1 | 1 | 55 | 40 |
| Air Striker | 5 | 1 | 74 | 45 |
| Saxton | 10 | 5 | 50 | 65 |
| Bishop | 25 | 1 | 160 | 100 |
Infector splits its impact into explosions and can widen a damaged section. Breacher penetrates toward a protected room. Napalmer needs height for its rain of damage, and Air Striker brings a follow-up strike from above. Choose the route into the target before ranking these attacks by a single column.
Bishop has the largest base destruction value among the 38 listed units. Its delayed detonation gives it a different rhythm from a direct impact. Against a room that must be reached from another side, access can still matter more than the highest structural value.
Route Shots Through Multipliers
Explosion bonuses enlarge the blast effect; projectile bonuses add projectiles. Find the desired impact point first, then see whether the aiming path can collect the useful icon on its way there. This keeps the bonus connected to an actual target. A detour that carries every projectile beyond the castle gives up the breach you were trying to create.
A heavy bomb benefits from covering more of the low support with its blast. A multi-projectile attacker offers a different distribution of impacts. Avoid assuming that an enhanced spray concentrates every hit in one place. Watch the resulting damage, then adjust the next shooter to the surviving shape of the wall.

The video focuses on a fast approach to destroying enemy bases. Its title makes it a useful companion to practicing low support hits and choosing the next structural target.
Clear Foundation Survivors
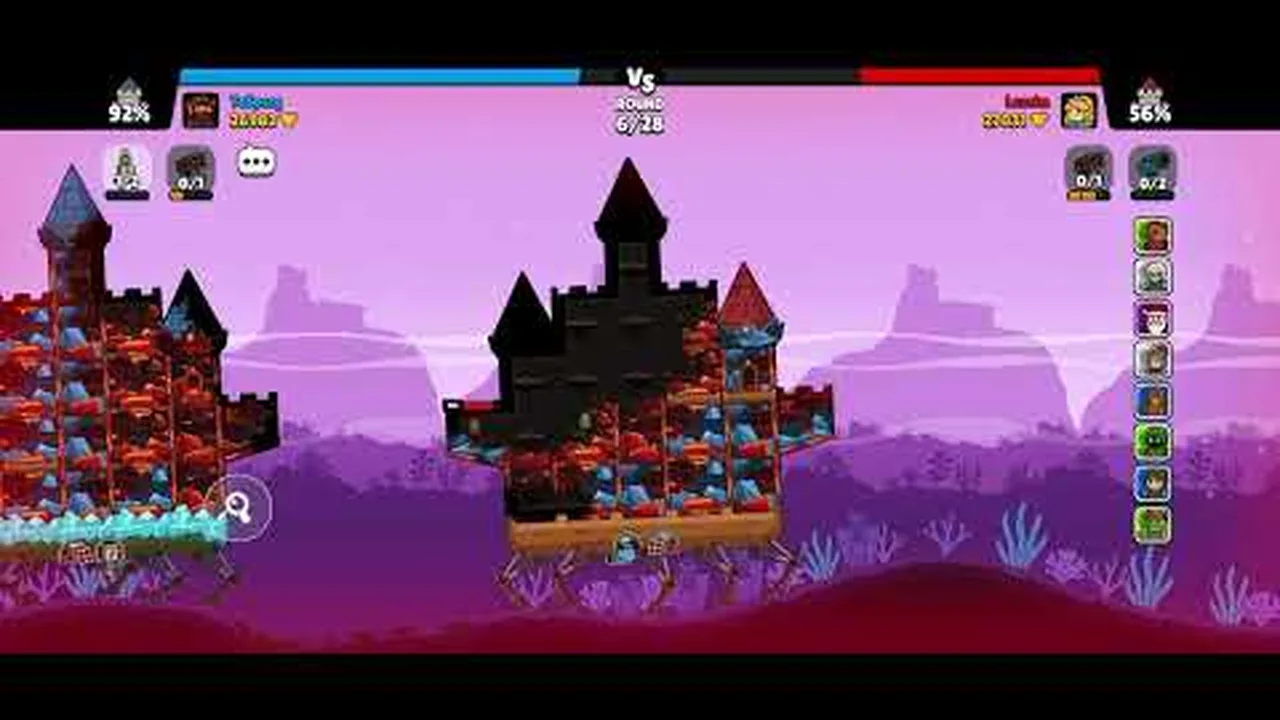
Inspect the bottom of the castle after the upper rooms fall. A foundation can keep a remaining piece upright, with a defender still inside. Foundation placement became more significant after the reinforcement rework: removing a nearby wall does not justify expecting every connected piece to collapse unexpectedly.
- Let the collapse settle and locate the remaining supported rooms.
- Identify the defenders still alive, especially the one threatening your main shooter.
- Use a clear unit hit if that is a shorter route to ending the fight.
- Otherwise aim into the surviving supported section and inspect the result again.
The foundation requirements below also explain why later defenses can spread their protected positions. Builds are an unlock condition; Coins and Wood are purchase resources. They are not additional health points and do not say how many attacks a foundation will survive. The castle layout reference covers their defensive placement.
| Foundation | Builds required | Wood | Coins |
|---|---|---|---|
| 1 | 8 | 1,000 | 2,500 |
| 2 | 14 | 15,000 | 37,500 |
| 3 | 19 | 80,000 | 200,000 |
How to Move Your Castle
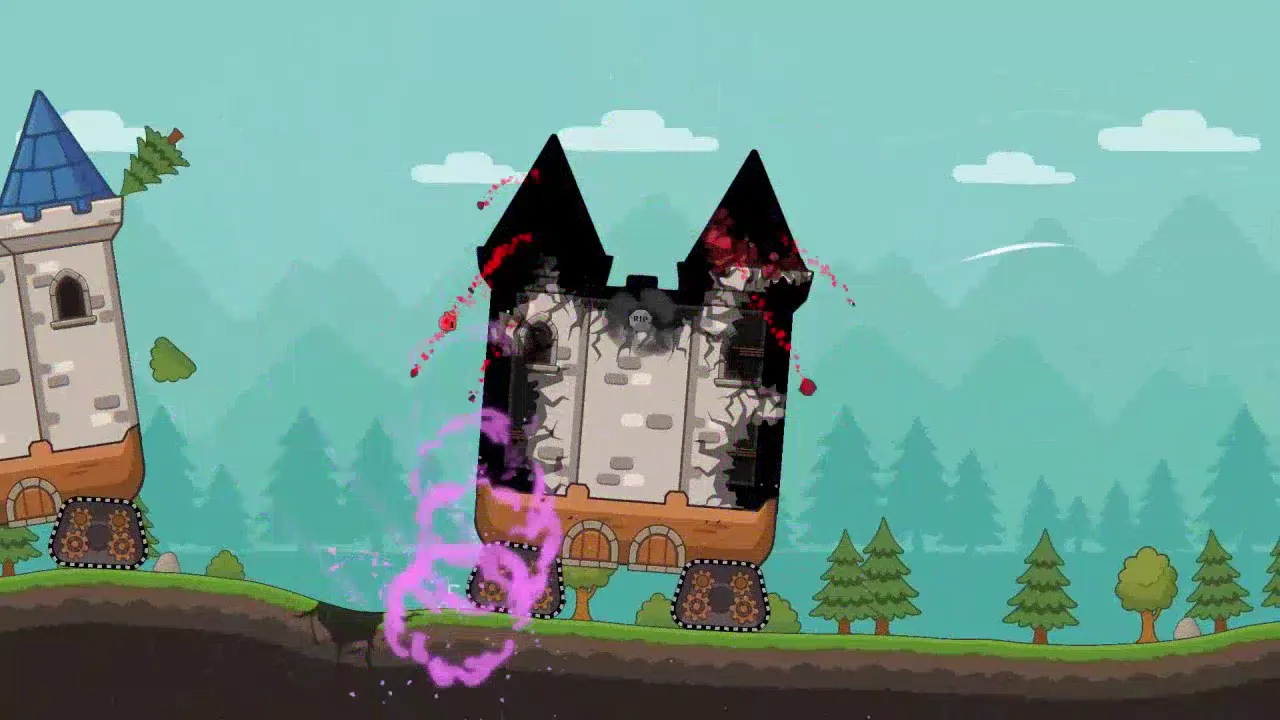
Drive to change the angle and distance between your shooter and the intended support. Wheels let the castle move around the arena; movement changes the shot geometry. Stop and check the projected arc after repositioning. A low opening that was reachable before a hill or crater may need a different angle from the new location.
Each wheel compares to the others through three multipliers, Speed, Power and Fuel, rather than through meters or seconds. Select for the terrain and movement you need. Hover has Speed 1.3, while Titan has Power 1.3; neither number promises a fixed travel distance across every battlefield. Both become available through their Forge milestones.
Ground damage can leave craters, and a tilted castle changes the height of its rooms. Recheck the path rather than attempting the same flat shot into a shifted target. The wheel and utility comparison separates movement factors from supporting attacks, while the aiming instructions cover adjusting power and angle.
Reach the Rear Rooms
Saxton sends returning weapons around the castle, opening an approach to the rear wall. Poison Ivy threatens the structure from both sides. Use these routes when an important defender sits beyond the forward breach. Continually striking the front can waste turns if the intended unit is still several protected rooms away.
Poisoneer pressures clustered defenders with a lingering cloud, while Laser Man attacks a vertical line. These attack shapes answer different room arrangements. A demolition-focused unit breaks structure, a unit hunter finishes defenders, and flexible attacks help exploit power-ups. Fill the missing job before buying levels for an unsuitable attack.

Prepare for Tougher Materials
Defenses progress through 10 material tiers, from Wood to Magma. Castle level 10 permits 21 blocks and Magma, reached through Forge level 183. Expect to choose targets within the shape of that defense rather than shoot every reinforced block equally.
Construction spends Coins alongside Wood. For example, the Stone upgrade costs 25 Wood and 75 Coins, while higher materials demand more. Helpers add another consideration: Shield absorbs damage, Anti-Missile intercepts projectiles, and offensive utilities can add pressure. Recognize what is protecting the target before blaming the shooter.
Winning trophies broadens your available attackers; arena unlocks show the next options. Cards and Coins develop those units, with Gems used for premium offers or timer skips. Plan that spending through the upgrade progression guide after identifying which attack shape your siege actually needs.
Demolition Questions
Does Bishop need to be bought from the shop?
Bishop unlocks on Trophy Road at Arena 26. Treat its delayed bomb as a structural tool rather than assuming it belongs to a paid-only strategy. Its base destruction value is 160, but access alone does not decide the shot. A smaller attack that reaches the final exposed support may be more useful than a powerful bomb placed elsewhere.
Can Saxton reach a room protected from the front?
Saxton's returning projectiles can approach the rear of a castle. The base attack sends 5 projectiles for 1 Mana, giving a different route into rooms shielded by the forward wall. Watch the return path and the target's position. Rear access helps only when the returning attack intersects the room or defender you intended to threaten.
Is destruction the same as unit damage?
No. Wrecker has 150 base destruction and 70 unit damage per projectile. These measurements describe different targets. Use the structural value when comparing attacks against walls, then consider unit damage when deciding how to finish exposed defenders. Neither number includes a promise that every projectile will land or that a particular room will collapse.
Should I keep attacking after Fuse gains axes?
Keep choosing attacks that advance a collapse or remove an important defender. Fuse gains an axe when castle health crosses 75%, 50% and 25%, and those gains last through the match. A hit crossing several marks awards the corresponding stacks together. Healing the castle later does not remove them, so plan the reply rather than expecting that recovery to reset Fuse.
Does buying a foundation decide the whole defense?
No. There are 3 foundation purchases, but their placement and the supported rooms still matter. The first unlock requires 8 builds, and subsequent requirements increase. When attacking, inspect each surviving section after the main collapse. When defending, place the support around a useful room instead of treating the purchase itself as protection for every part of the castle.