
Castle Busters Guide
This Castle Busters guide connects 9 walkthroughs covering battle controls, demolition, team building and long-term progression. Start with aiming and support-breaking if you are new; use the topic cards to solve a specific problem once you know the controls. Arena progress, seasonal rewards and competitive Rating each have their own reference.

Pick Your Strategy Guide
Choose the question closest to your current screen. The cards move from first-match skills through attack planning, progression, construction and equipment to seasonal competition, with each topic linked to its detailed walkthrough.
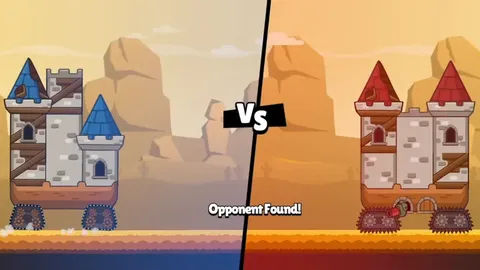 Castle Busters Tips for Beginners
Practice power and angle with the dotted aiming path.
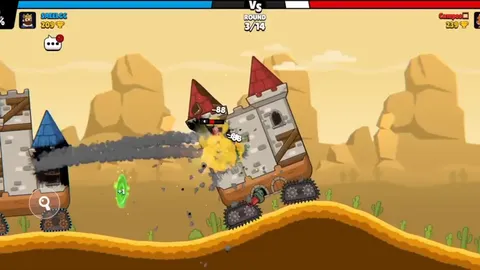 How to Destroy Castles in Castle Busters
Attack a supporting section, then inspect what foundations preserve.
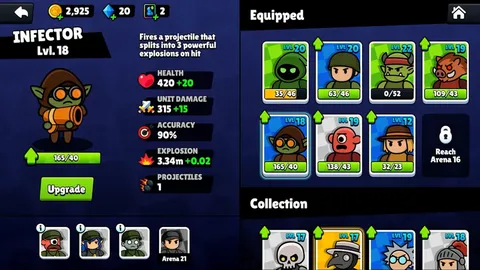 Castle Busters Best Deck
Build around complementary attacks while the final slot remains locked.
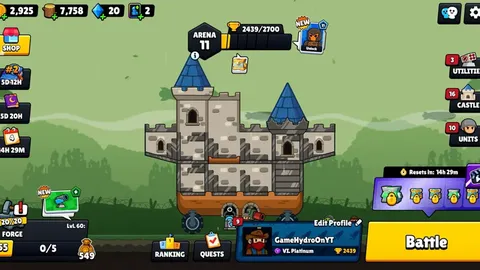 Castle Busters Arenas
Follow trophy thresholds to new recruits and mode access.
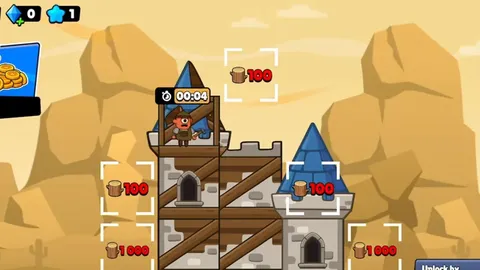 Castle Busters Upgrade Guide
Check matching Wild Cards and the next card-and-Coin payment.
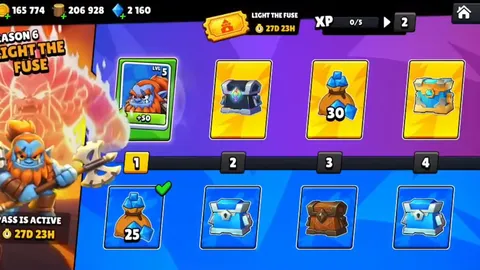 Castle Busters Battle Pass
Distinguish seasonal hero rewards from the separate Forge track.
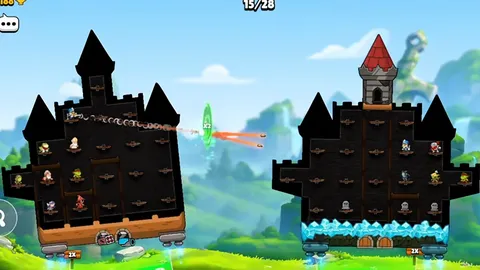 Castle Busters Foundations
Castle Level limits both room capacity and permitted materials.
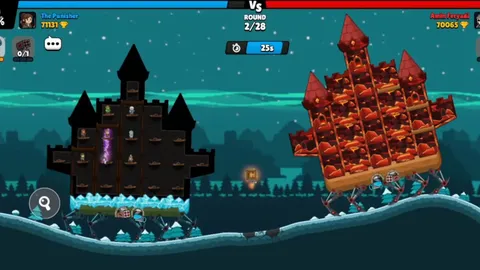 Castle Busters Wheels and Utilities
Compare movement factors with the distinct effects of Helper items.
 Castle Busters Clash Colosseum
Track league steps separately from ordinary Trophy Road progress.
You do not need a new formation to learn a better shot. The control walkthrough teaches how to place an attack; the demolition page explains why its landing point matters. Reading those together gives later upgrade decisions a clear purpose. Keep a familiar team while practicing so that the effect of a changed aim is easier to recognize.
Choose a Reading Route
Your stage determines which pair of topics saves the most trial and error. Before the controls feel comfortable, focus on the visible aiming path and the actual impact. Once attacks land, inspect the role that is still missing. Later, use the construction and economy references to support a team you already understand.
| Your situation | Read first | Follow with | Decision to make |
|---|---|---|---|
| Learning the first battle | Castle Busters Tips for Beginners | How to Destroy Castles in Castle Busters | Where should this shot land? |
| Attacks land but wins stall | Castle Busters Best Deck | Castle Busters Arenas | Which missing attack becomes available next? |
| Cards and Coins feel scarce | Castle Busters Upgrade Guide | Castle Busters Battle Pass | Which purchase actually helps the current team? |
| Rooms collapse too soon | Castle Busters Foundations | Castle Busters Wheels and Utilities | Does the formation need support, cover or equipment? |
| Preparing seasonal competition | Castle Busters Clash Colosseum | Castle Busters Best Deck | Which objective and formation will you take into the mode? |
A Castle Busters walkthrough works best as a sequence of decisions you can check during play. Pick the current failure, read its reference, and try a relevant change. If a useful attacker dies before its next turn, the construction guide may help more than another unit ranking. If it survives but repeatedly misses, begin with controls and attack path.
From Aim to Outcome
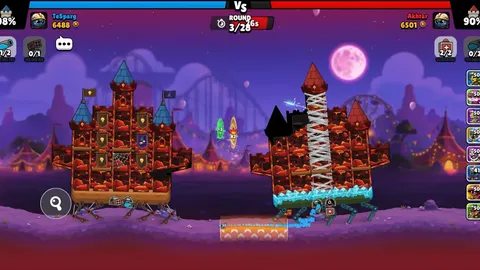
A battle asks you to manage a wheeled structure and the characters inside it. Select the character that can reach the chosen target, adjust the aiming direction and power, then inspect the path before release. Movement can change that geometry. A shot planned from one height may need adjustment after either castle shifts on uneven terrain.
Winning can follow structural collapse or elimination of the opposing defenders. Those routes often help each other: a damaged support can expose a room, and removing an important attacker can protect your own next shot. Decide which outcome the present turn advances. Scattering damage across unrelated surfaces may leave every important threat active.
The video introduces beginner strategies for winning battles. Its topic pairs naturally with this move from choosing an aim to checking what the shot achieved.

Tips Between Arena Unlocks
The early trophy route gives you attacks with different uses. Read the threshold beside the recruit you want, then ask whether that ability solves a repeated battle problem. The first milestones below provide a compact check before the full arena reference. Reaching a recruit and funding its upgrades remain separate parts of the plan.
For Castle Busters tips and tricks, keep the first routine small: identify the room that mattered, preserve a useful attacker, and spend toward the next improvement you will actually field. The character reference explains individual mechanics. The rankings and seasonal caveats offer a second way to narrow a shortlist once the missing job is clear.
Cards develop a named character, and matching Wild Cards can fill that card requirement. Coins also fund construction and equipment, so competing purchases deserve a direct comparison. A new recruit is helpful when its usable ability exceeds the value of the purchase you would otherwise make for the existing formation.
Strengthen the Whole Setup
Team levels, castle capacity and equipment interact through progression. A Common begins at 1; a Legendary begins at 25. Castle level 1 allows 7 blocks. These figures describe different systems, so avoid using a rarity label as a shortcut for every decision about fighting strength or structural protection.
Use the cost reference to plan a level, the castle reference to plan a room, and the equipment reference to choose movement or a supporting effect. A movement problem calls for a reachable angle. A structural problem calls for protection of the relevant room. A recruitment problem calls for the correct arena, pass, login reward or pack.
Seasonal progression adds another layer. Battle Pass groups rewards around its named theme and featured hero; Forge development accompanies upgrades and construction. Colosseum progression belongs to league steps and competitive results. Check the name on the panel before planning a session around a reward that belongs elsewhere.
Trials offer a temporary chance to test selected heroes at your strongest hero's level. Treat that opportunity as practice with an unfamiliar ability. Permanent card spending comes afterward, based on the hero's ordinary progression and the role it earned in your team. Your Castle Busters strategy can develop through those focused comparisons without rebuilding every system at once.
Finding the Right Walkthrough
Where should I begin this walkthrough?
Begin with the Beginners guide, then read Destroy Castles after practicing a few aimed attacks. That order connects the controls with a visible battle objective. Best Deck comes next when you can describe which attack your formation is missing. The remaining guides answer particular progression, construction, equipment and competitive questions rather than requiring a complete reading session before playing.
Which guide explains a castle that refuses to collapse?
Destroy Castles explains attacking supports and checking the rooms left on foundations. Follow it with Castle and Foundations if you want to build the same kind of protection yourself. A surviving room can still contain an active opponent, so the useful question is which support or defender remains, rather than how much of the roof already looks damaged.
When is the Colosseum guide relevant?
The Colosseum guide becomes directly useful at Arena 26, when the competitive mode opens. Before that, Arenas helps with the route to access. Once inside, follow league steps, checkpoints and Rating separately from Trophy Road. A seasonal competitive target changes what you track between battles while the attacking and defensive decisions still belong to the same castle fight.
Should I read Battle Pass before Upgrades?
Read Upgrades first if your immediate question is how to improve a character you already own. Battle Pass answers which seasonal track contains a featured hero or reward. Those are separate spending decisions: a pass supplies rewards, while a level still requires the relevant cards and Coins. Knowing the next useful purchase makes it easier to evaluate the reward track afterward.
Do the strategy pages cover free teams?
Yes. Best Deck includes a free starter formation, while Arenas identifies recruits reached through trophies and the unit directory distinguishes login rewards from shop packs. Begin with those available options before evaluating a paid addition. Use the individual character page to inspect its attack shape, then return to the strategy guide that addresses the role you want to improve.
Read Next
Practice the control loop
Connect unit selection, aim and the resulting impact.
Plan a structural win
Trace the supports beneath the rooms you want to remove.
Give each slot a purpose
Choose attacks that complement the available roster.
Check the next payment
Reserve the cards and Coins for a useful improvement.